|
my process started with me getting a piece of clay and shaping it into a sphere and threw it onto the wheel, then i centered it and put water on it. i was on the non-electronic wheel so i had to manually spin the wheel with my feet. i pushed the clay down with my palms and thumbs then pushed my thumbs into the center to start making it into the shape of a bowl and i brought it up a few times until it was at a desired height. it was difficult to center it but the hardest part was to make the whole thing symmetric. it definitely turned out better than expected. 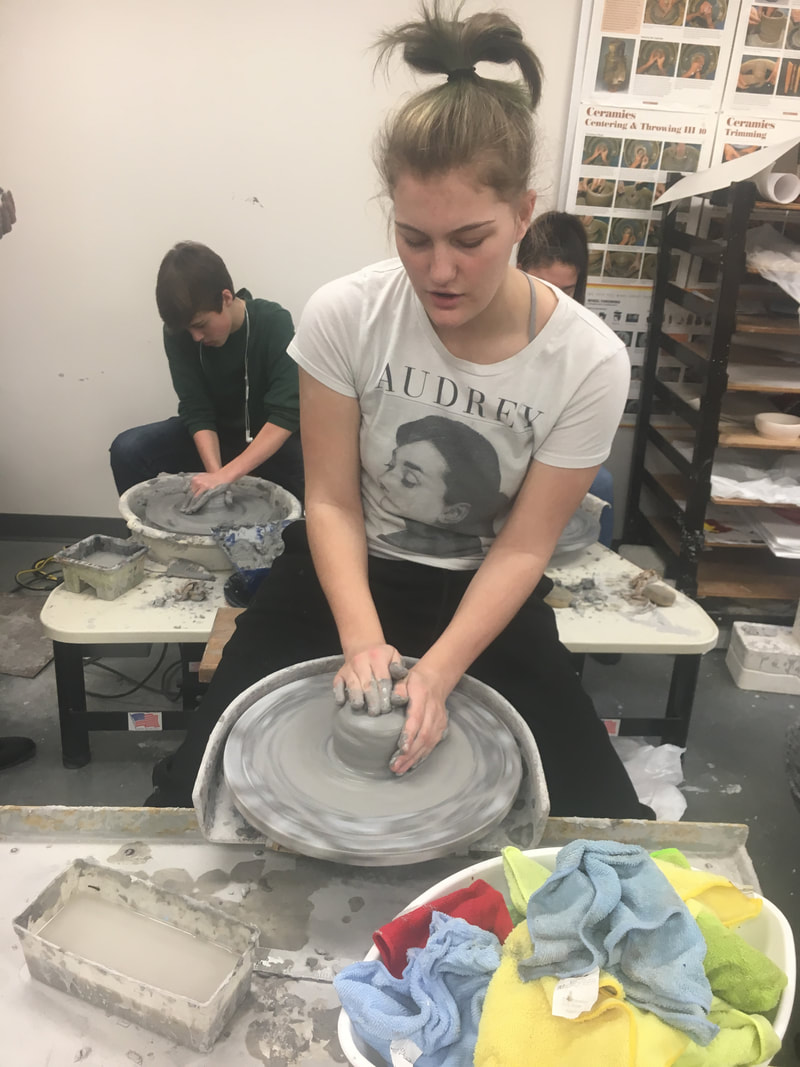 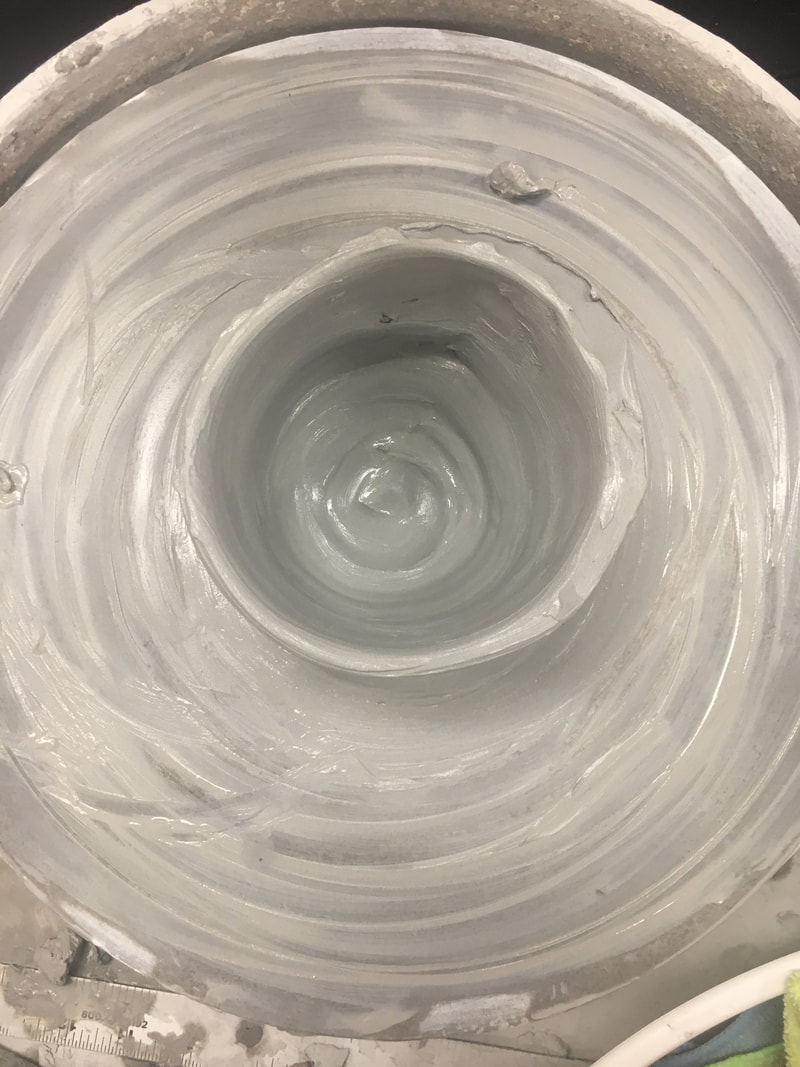
0 Comments
i rolled out a piece of clay and pressed a doily and wrapped it up on a pipe then took it off and pressed three parts of it together and pinched them until all the gaps where closed. i let it air dry over night in a bag, the next day i flipped in legs down and started to fill in the spaced inside of it on the bottom with the back of a needle tool to press it in to prevent air bubbles forming in my piece. then i took a spook to smooth it all out before it was put in the kiln. then i glazed it with a marble mixture of clear and black and poured it over it to make a marble design then it was put in the kiln again. 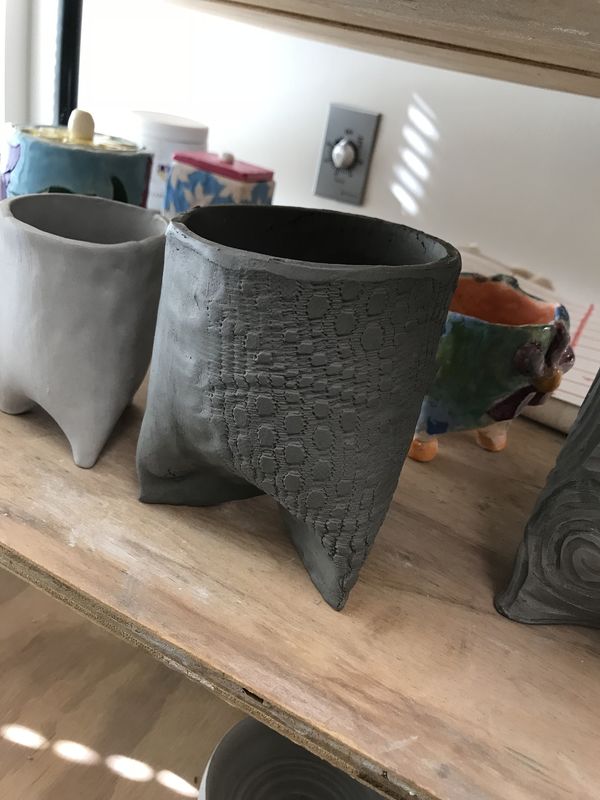  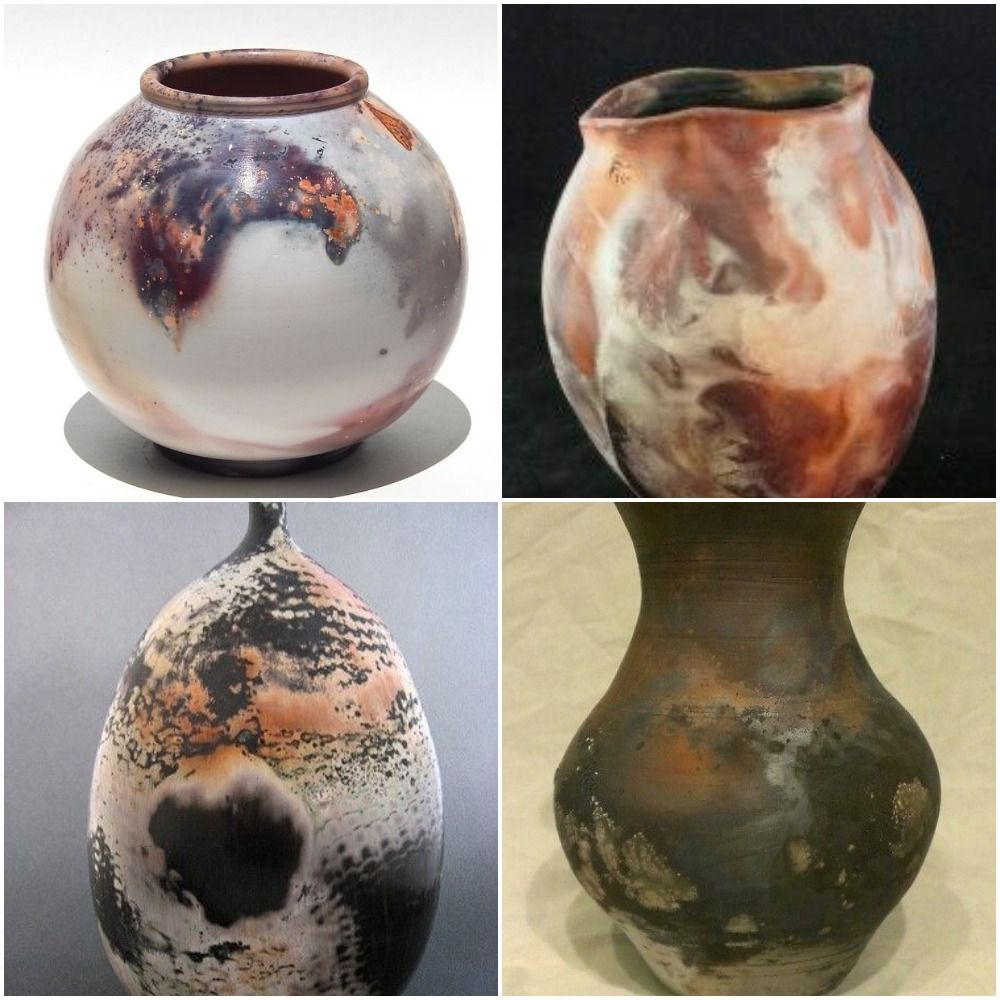
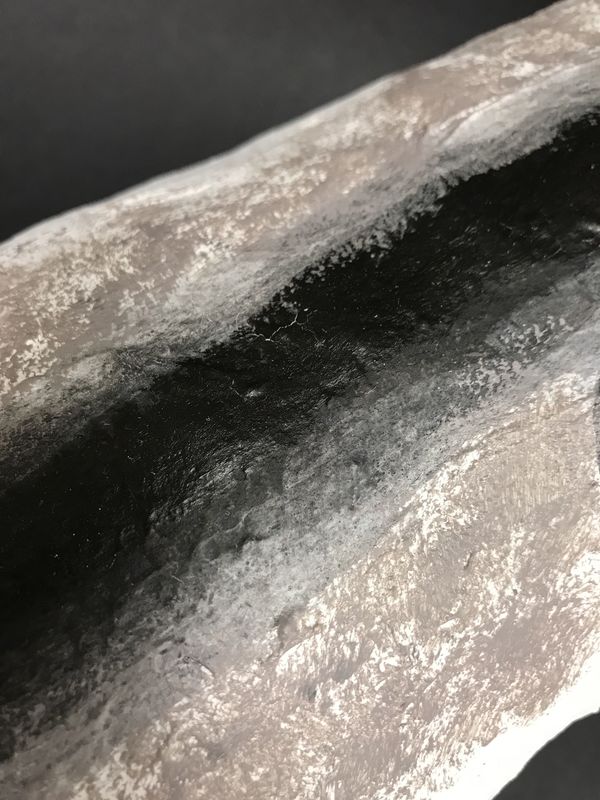
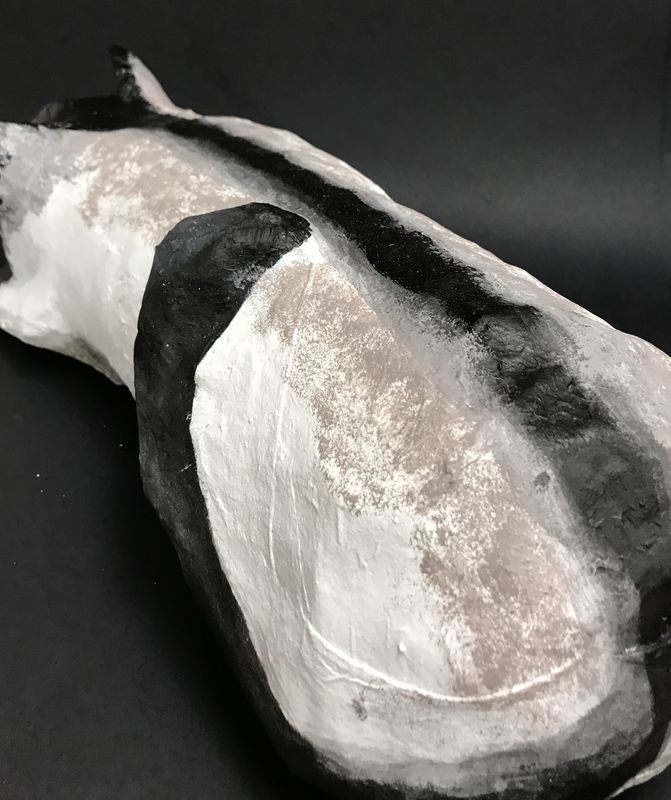
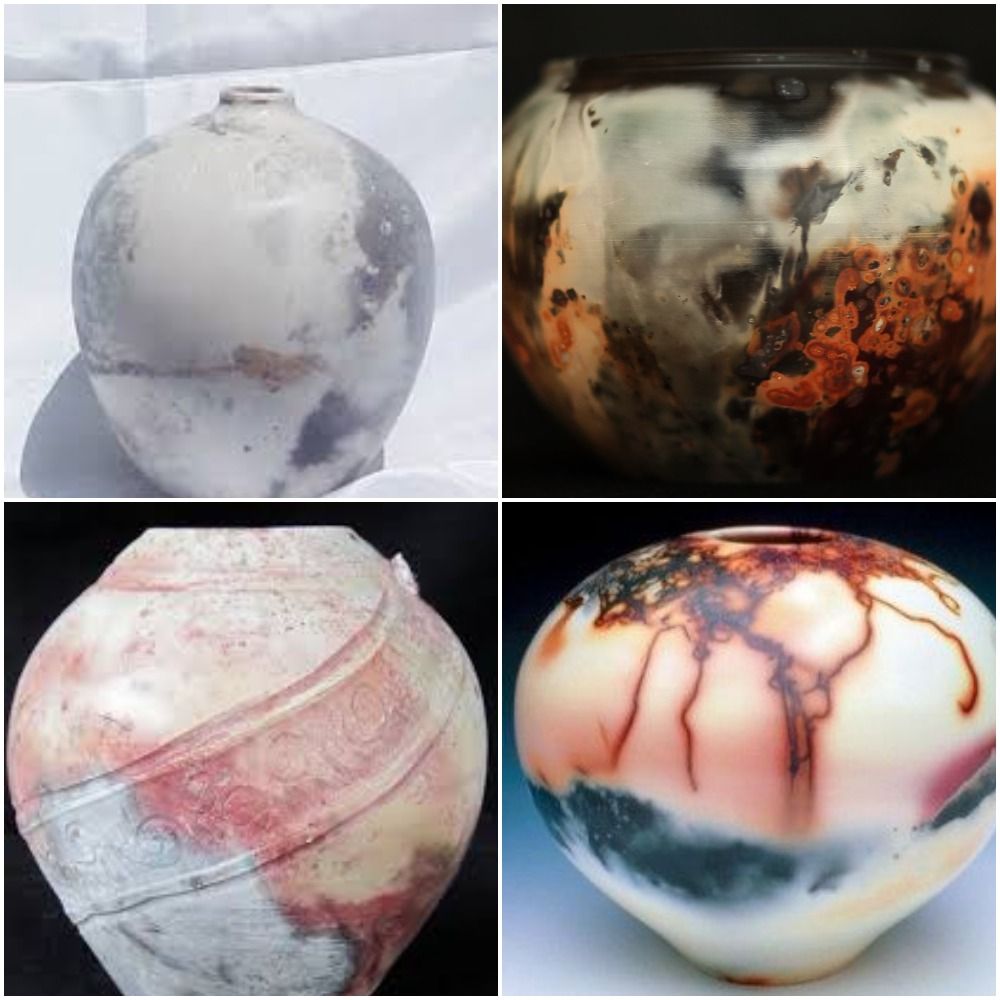 My process of my pit firing piece was first I started with 5 slabs of clay and put them together and let my piece dry overnight then went in to put more detail In while the clay was more sturdy. After it was in the kiln I put leaves, salt, acid, and snake skin on it to put a bunch of different colors.
my piece was successful because it came out really nice and I liked the shape I made it in. I like how it was so small and cute my piece was not successful because i never got to see it after it was fired the second time. |
AuthorWrite something about yourself. No need to be fancy, just an overview. Archives
January 2018
Categories |
 RSS Feed
