|
my process started with me getting a piece of clay and shaping it into a sphere and threw it onto the wheel, then i centered it and put water on it. i was on the non-electronic wheel so i had to manually spin the wheel with my feet. i pushed the clay down with my palms and thumbs then pushed my thumbs into the center to start making it into the shape of a bowl and i brought it up a few times until it was at a desired height. it was difficult to center it but the hardest part was to make the whole thing symmetric. it definitely turned out better than expected. 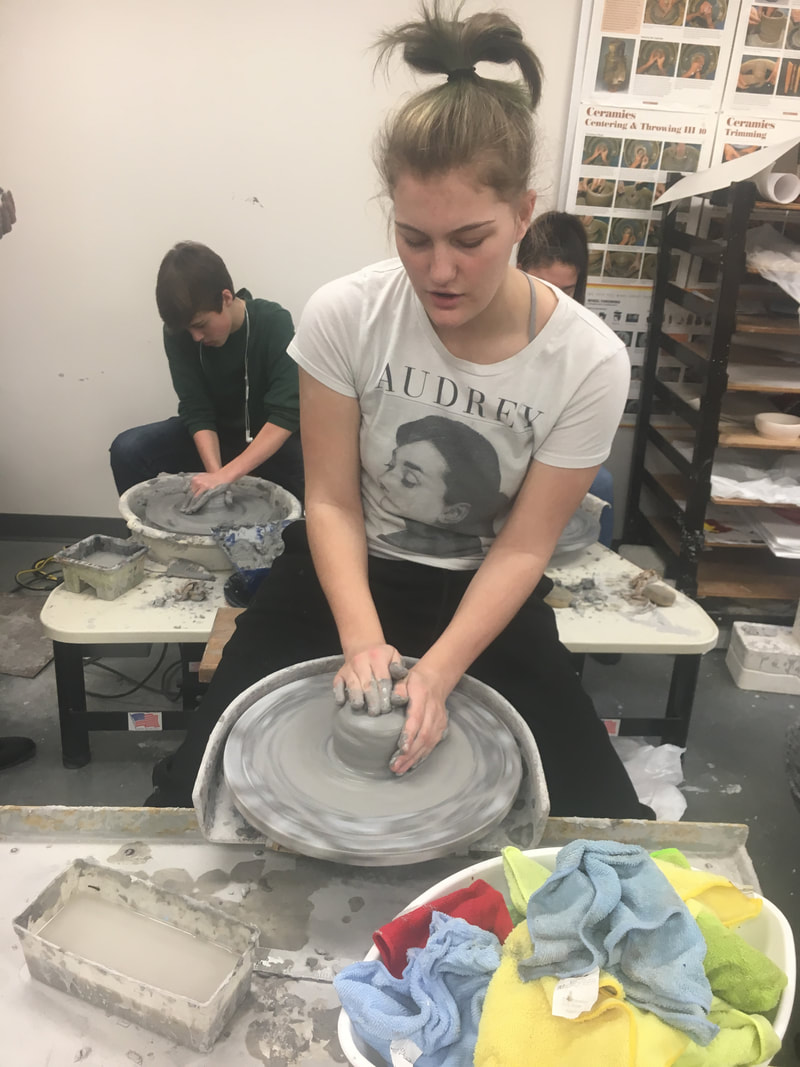 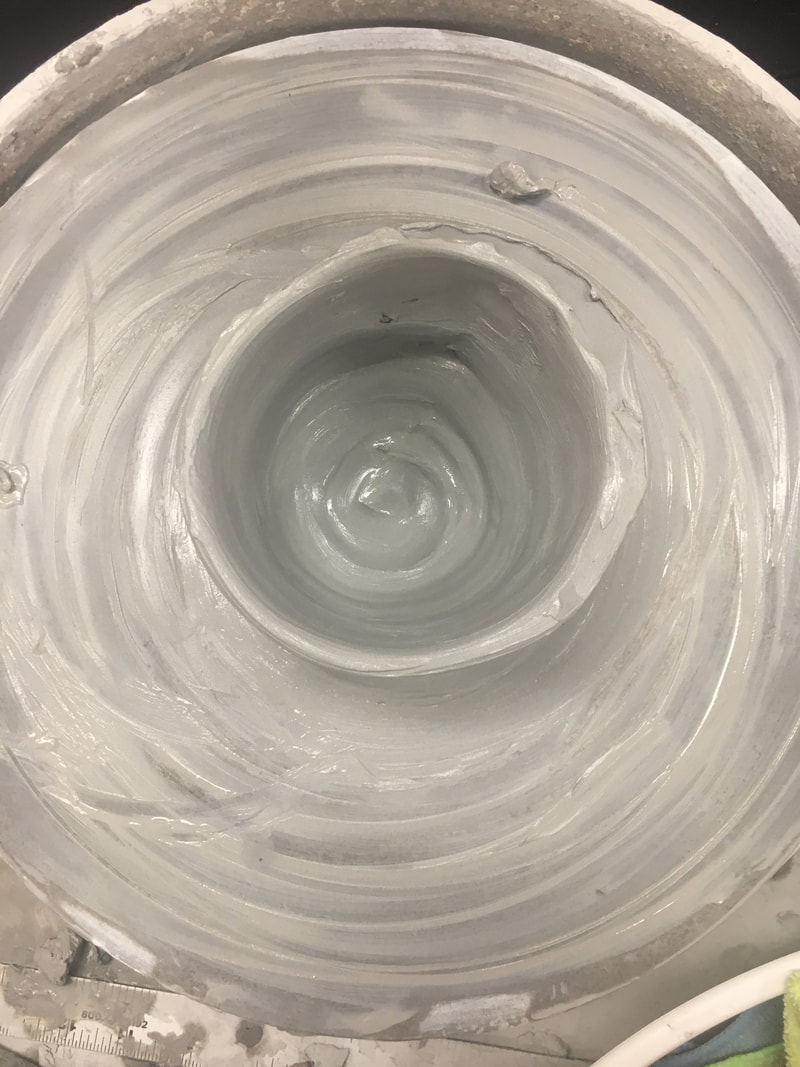
0 Comments
i rolled out a piece of clay and pressed a doily and wrapped it up on a pipe then took it off and pressed three parts of it together and pinched them until all the gaps where closed. i let it air dry over night in a bag, the next day i flipped in legs down and started to fill in the spaced inside of it on the bottom with the back of a needle tool to press it in to prevent air bubbles forming in my piece. then i took a spook to smooth it all out before it was put in the kiln. then i glazed it with a marble mixture of clear and black and poured it over it to make a marble design then it was put in the kiln again. 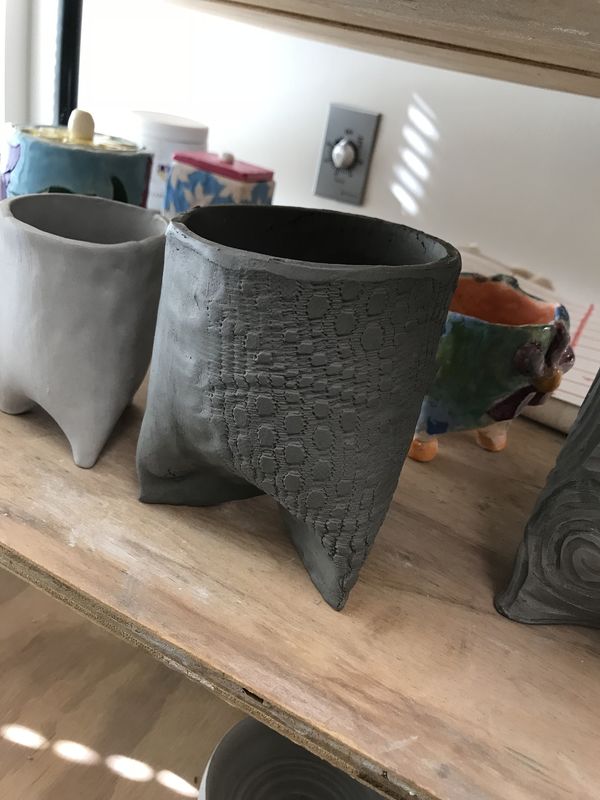 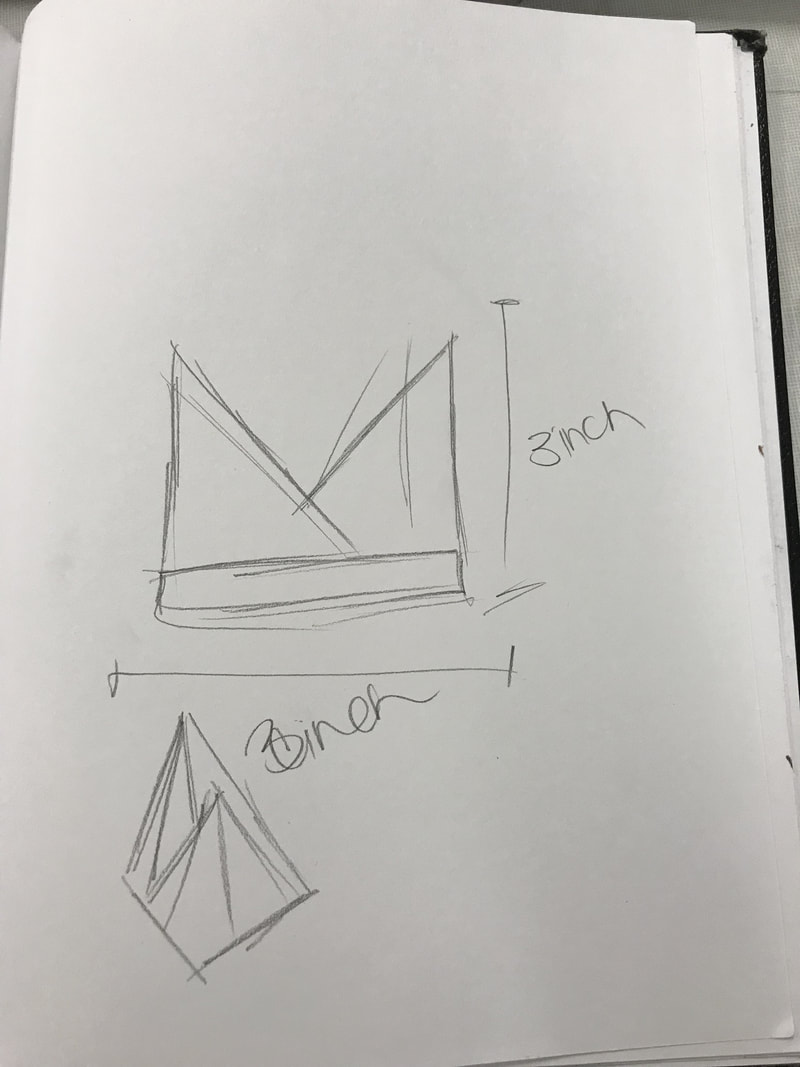 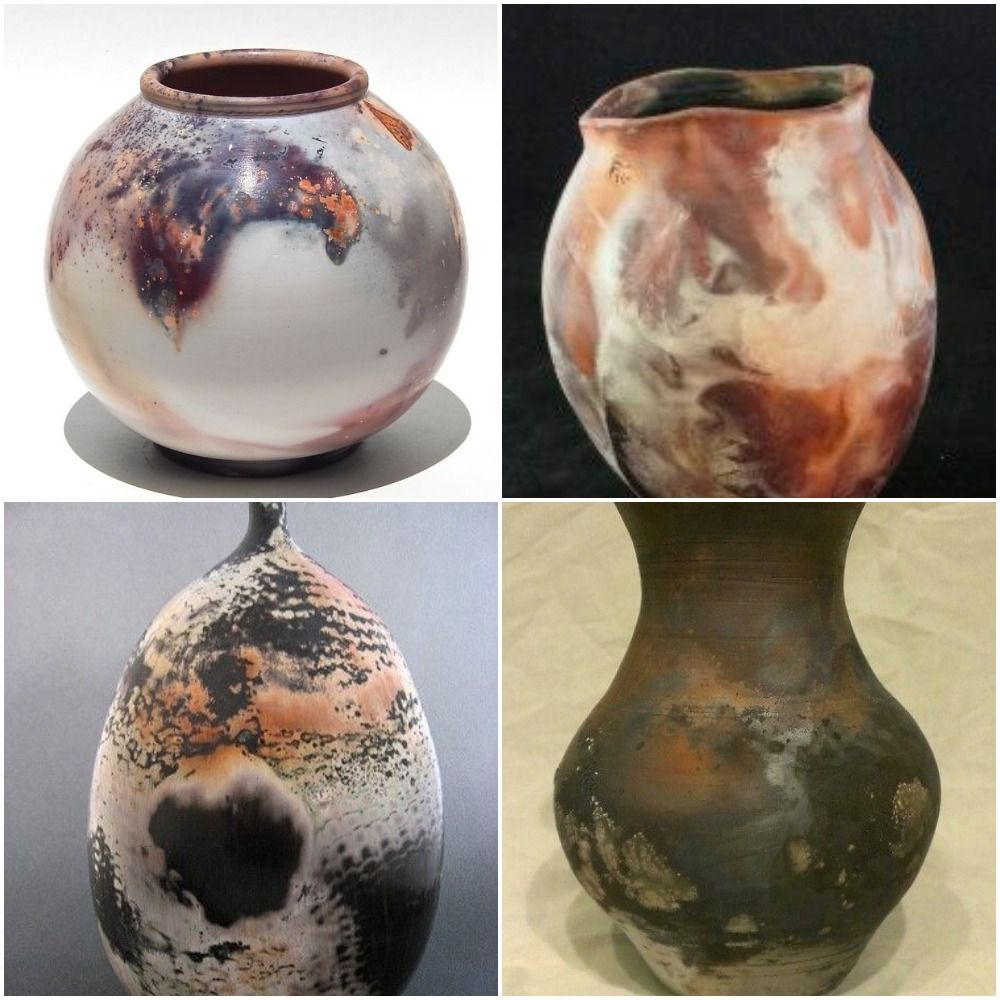
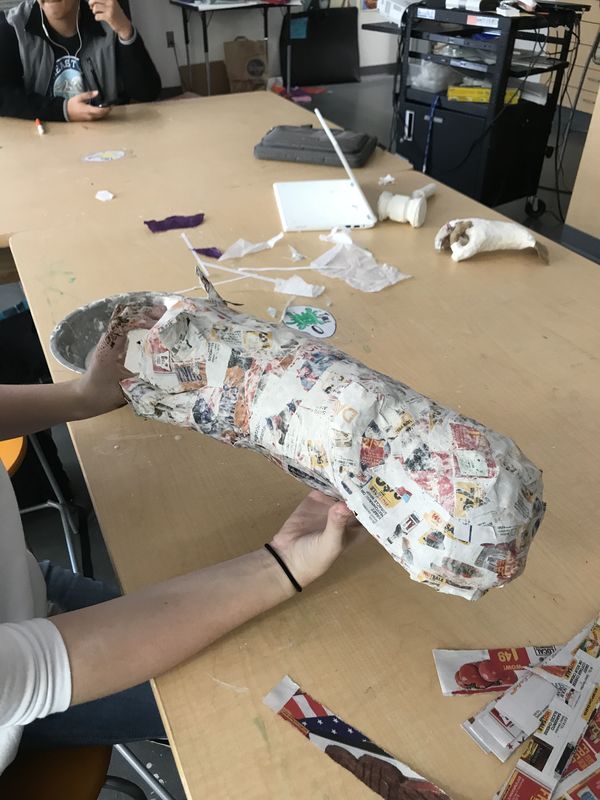
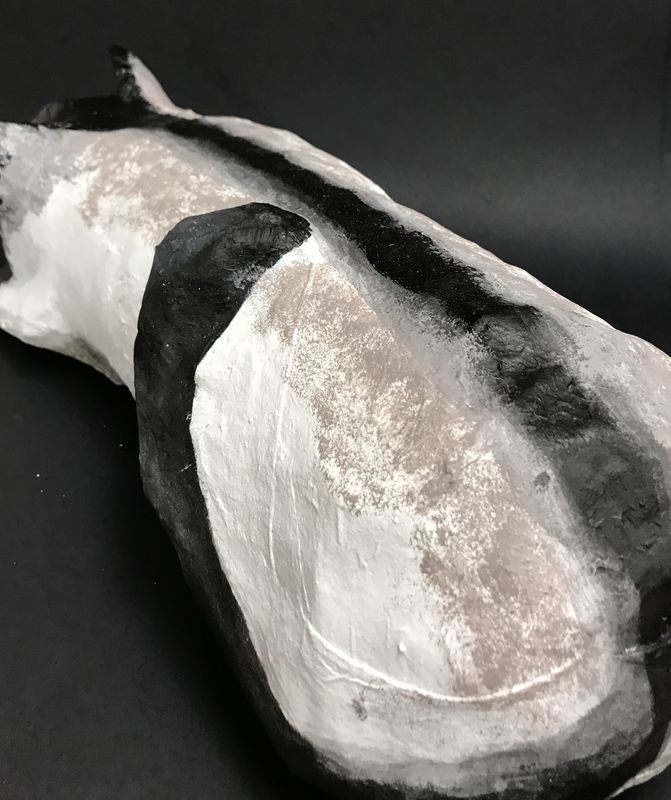
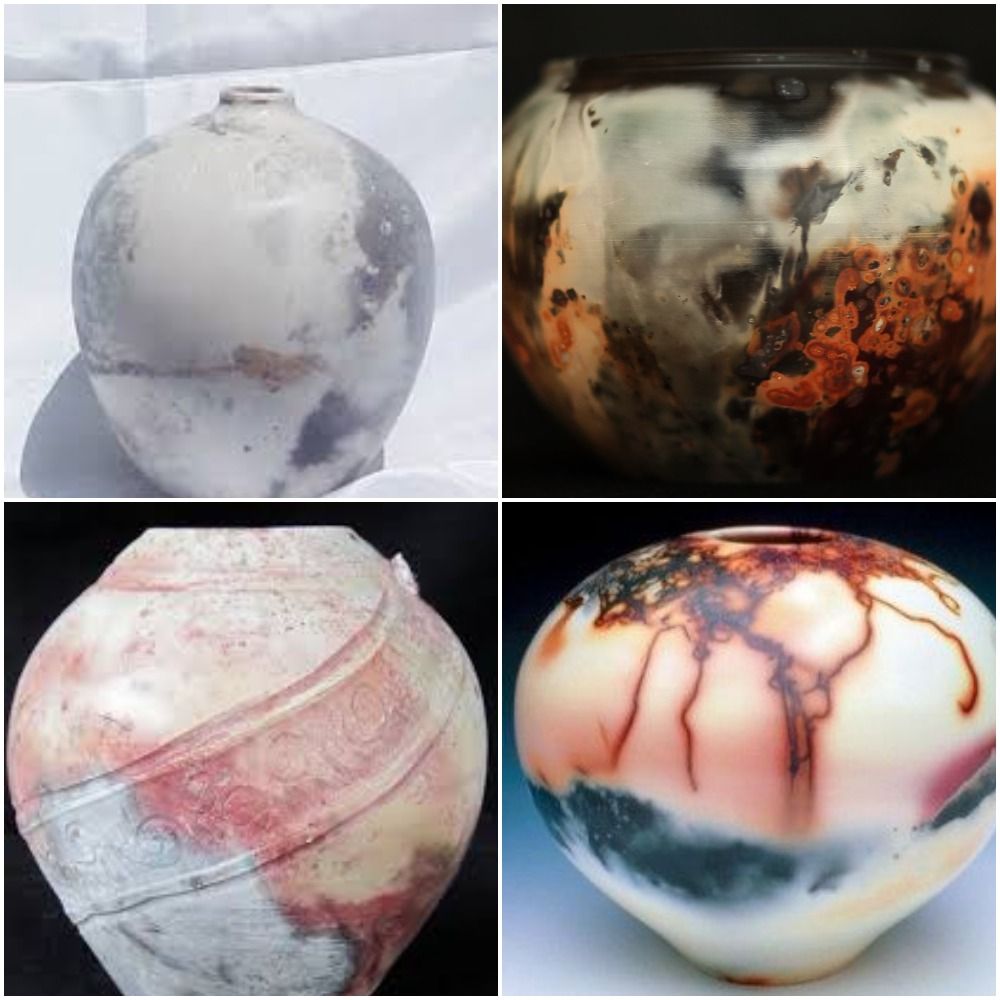 My process of my pit firing piece was first I started with 5 slabs of clay and put them together and let my piece dry overnight then went in to put more detail In while the clay was more sturdy. After it was in the kiln I put leaves, salt, acid, and snake skin on it to put a bunch of different colors.
my piece was successful because it came out really nice and I liked the shape I made it in. I like how it was so small and cute my piece was not successful because i never got to see it after it was fired the second time. 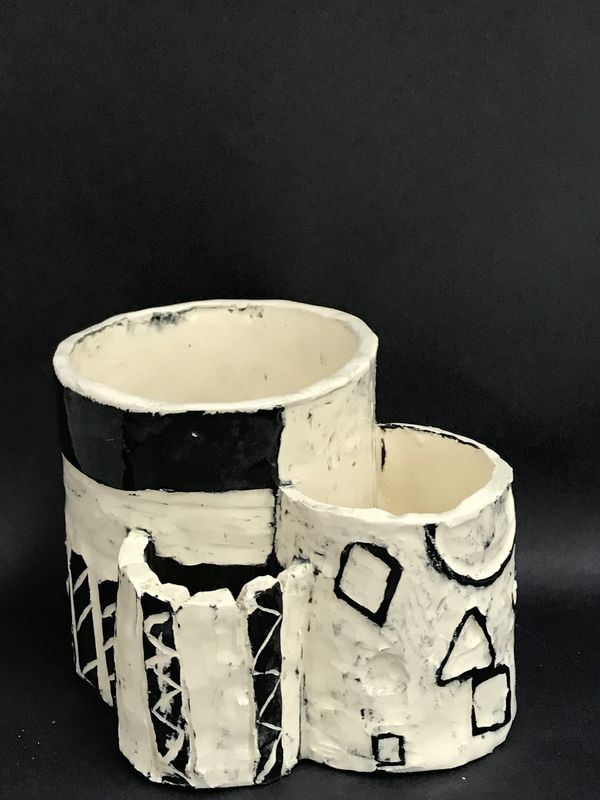 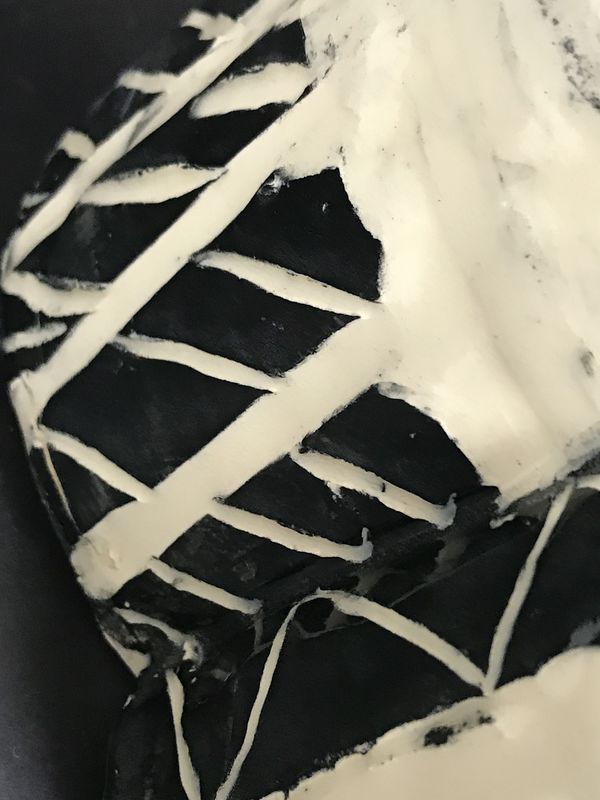 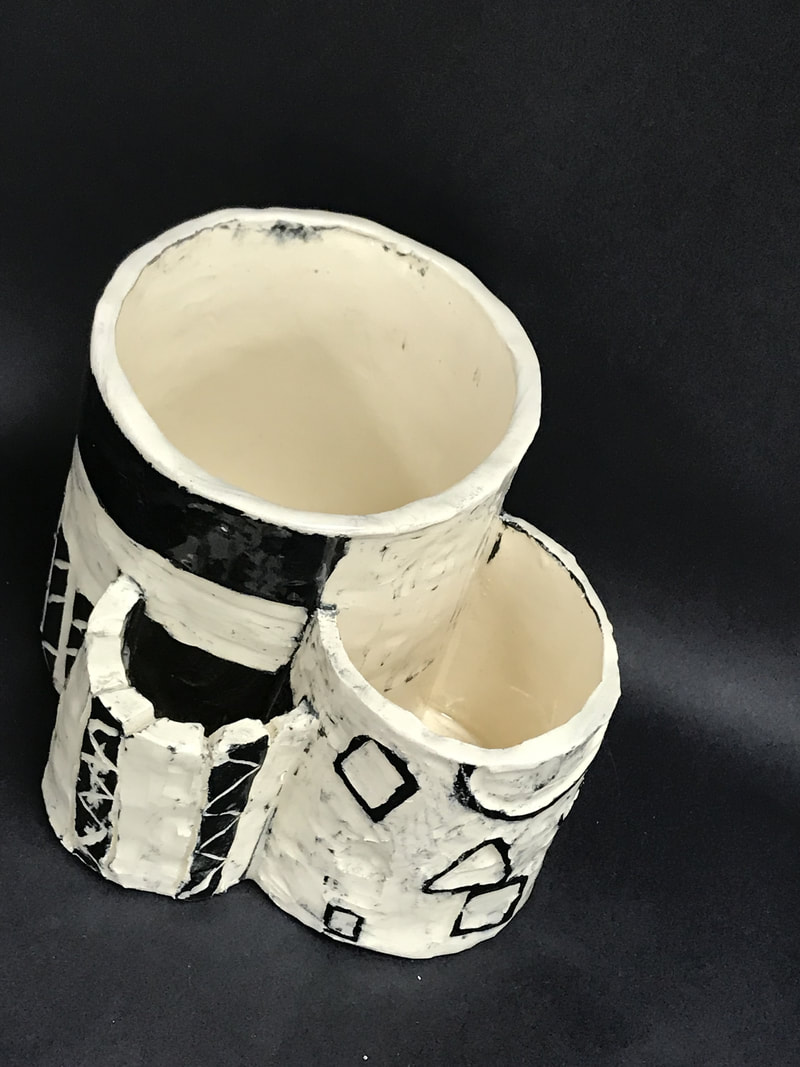 After it was fired I polished it up and put the clear finish on it to make it look glossy.
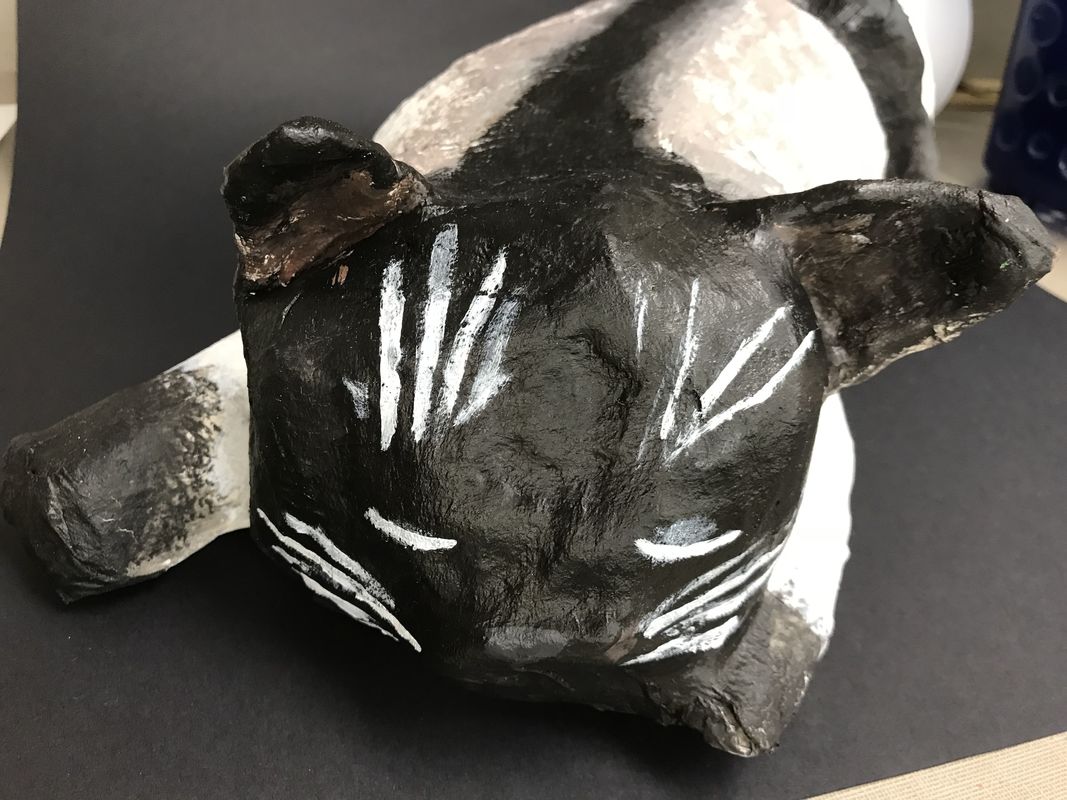
Personally I didn’t like the project in general but there were parts that I really enjoyed doing like making all the different sized pieces and putting them together. Ive never made a piece like this one so having to learn how to handle multiple pieces at the same time. My piece was successful because the general shape and size of it came out just the way I wanted it to. But when I put the designs in I didn’t take my time so they came out really cruddy and messy   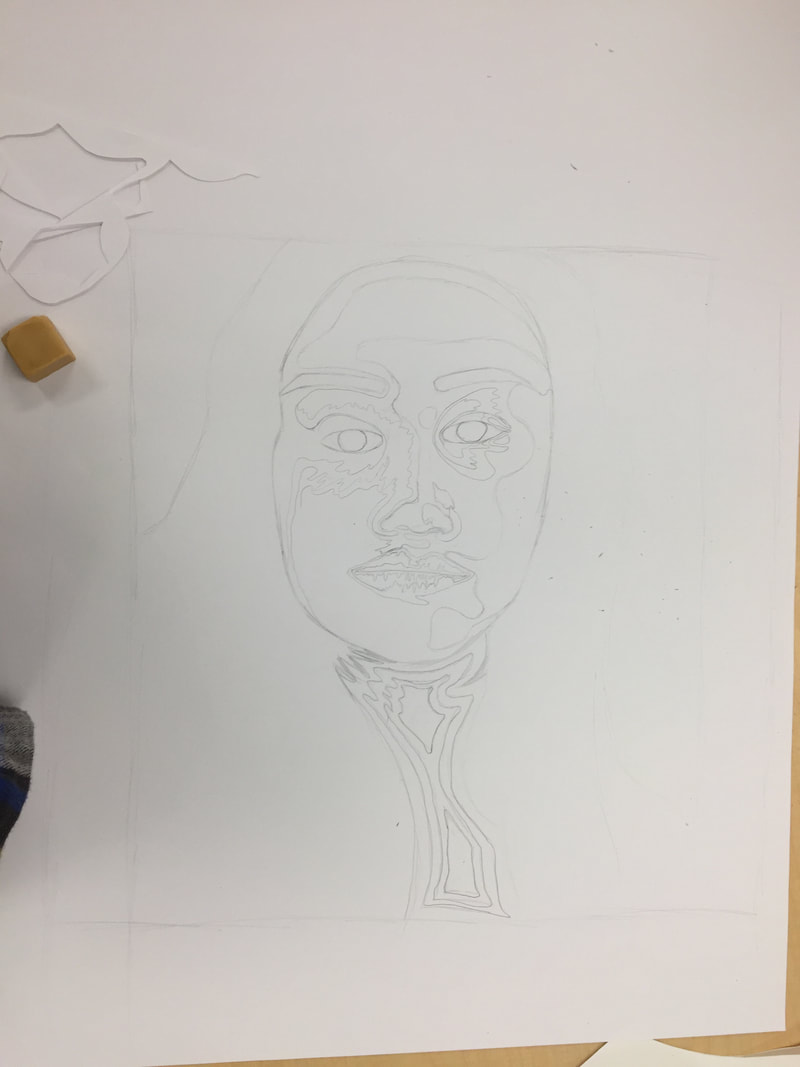 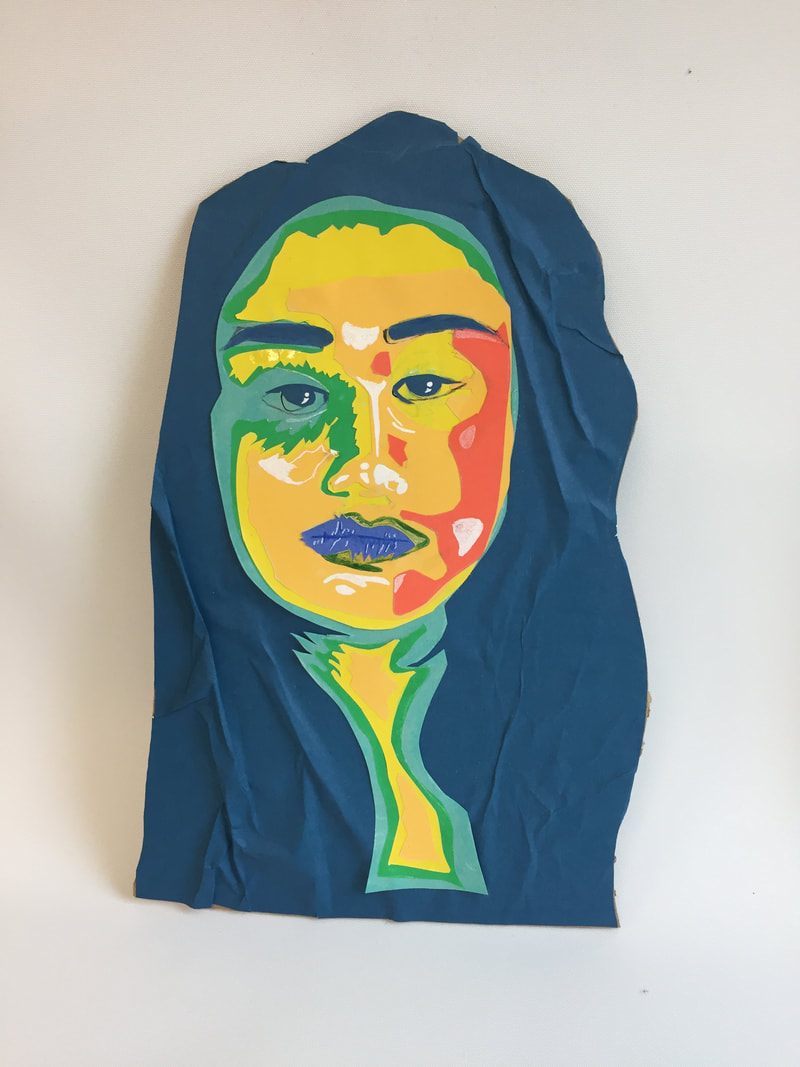 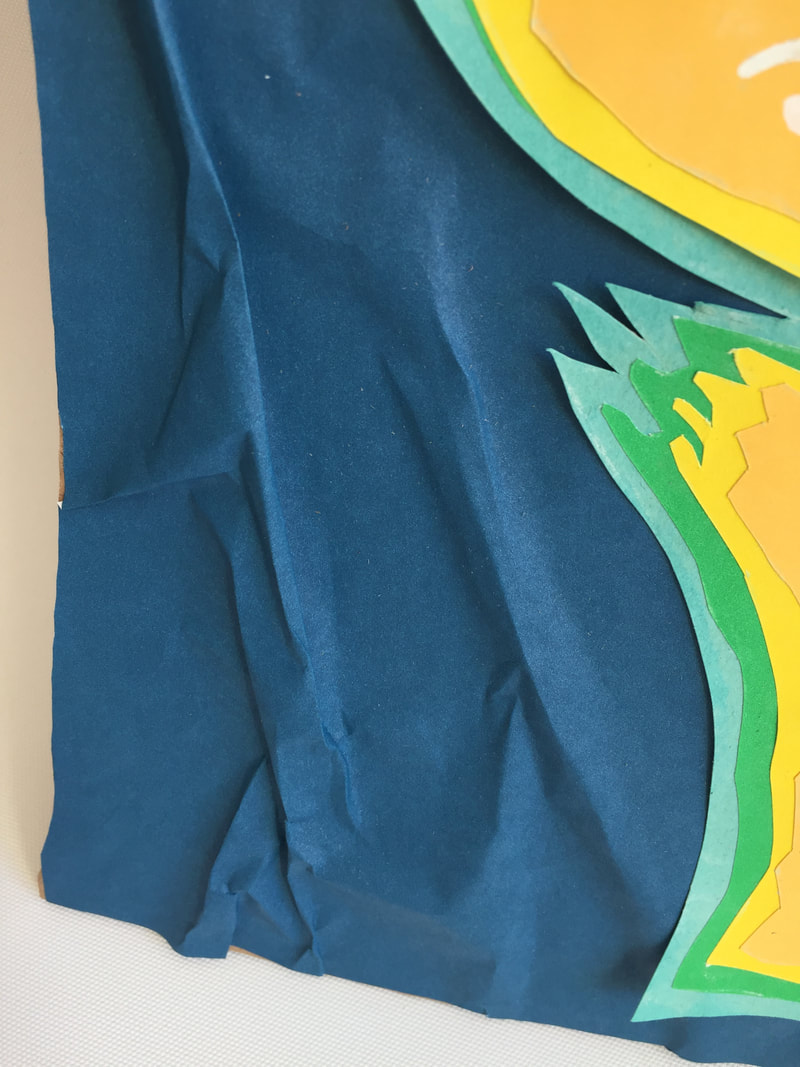 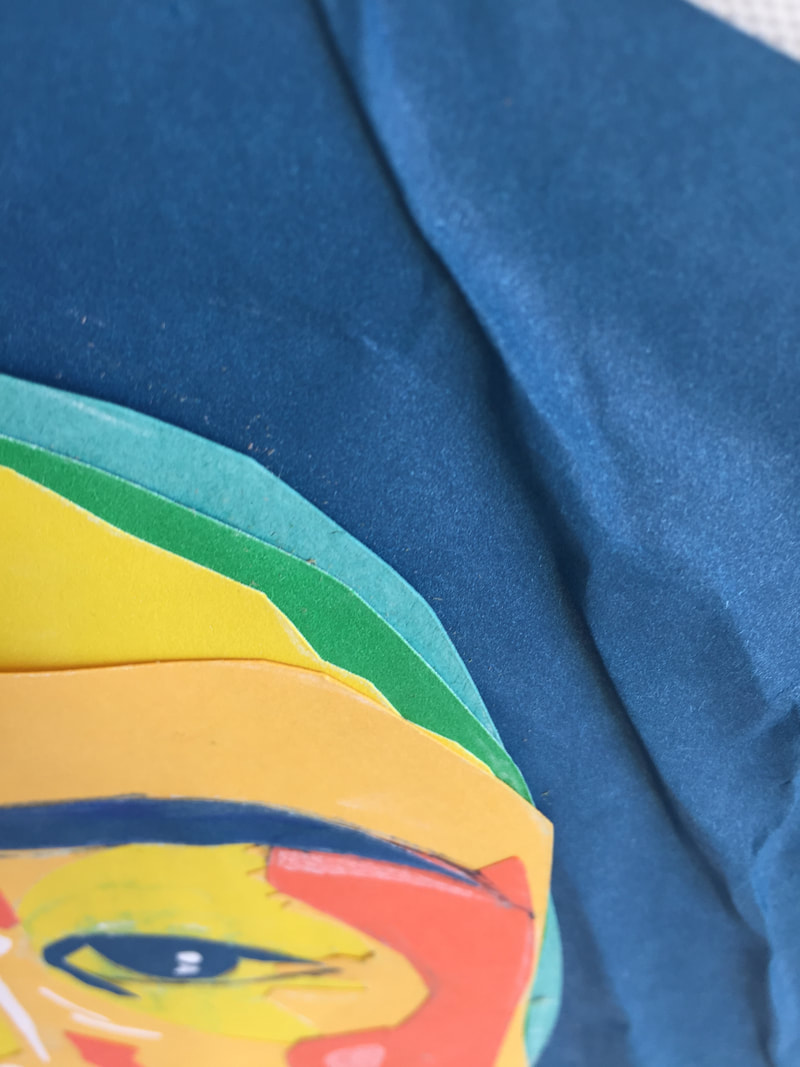 i first got a portrait from one of my friends and edited it so that i could see the different shadings in her face and i came across a rainbow filter that color coded each different shading into a different color like thermal vision. i then sketched the filtered photo onto paper too see each color as a different layer. i then took the sketch and covered the back with chalk and taped it onto a large piece of construction paper and took a dull pencil and traced the separate layer according to whichever later watches the construction paper until i had a complete shape then i would take an xacto knife and cut out the shapes and stack all the layers on top to create the image and i would go back and fix some part to become the ideal shape for the different facial features. after i had all the layers the way i want them i glues them together in their correct spots to match the sketch and photograph to make her face. then i went over with color pencils, markers, a gel pen so create smaller details and define more elements to make the face more realistic. and cut out a piece of cardboard and i took adhesive spray and sprayed it onto the cardboard and stuck them together and trimmed the cardboard to the shape that i wanted it at. it was difficult to get the small details in while cutting the paper. and the paper kept ripping so i had to either tape it back or just start over on the piece of paper that i was cutting. i think overall the whole project was a success. but i am really proud of the way i made the hair look.
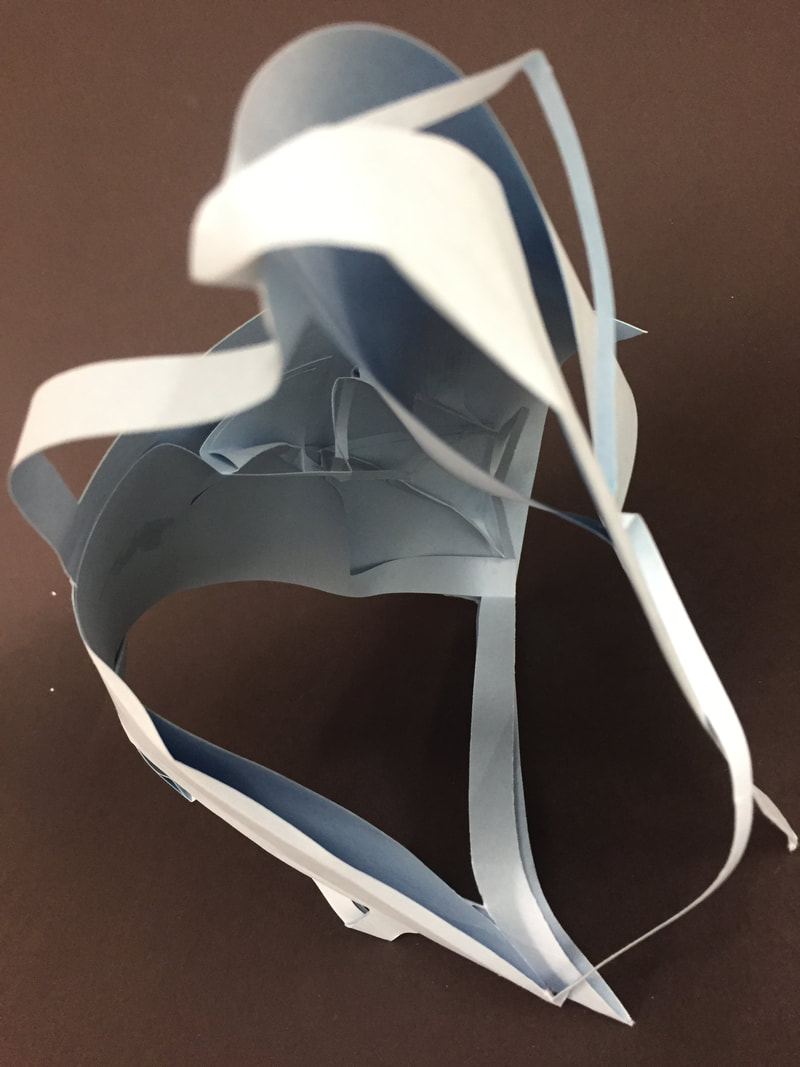 i found it difficult to find a good pattern or look that i actually like so i just winged it throughout the whole thing and eventually did a lot of lines and triangles but i over did it a bit and it turned into a mess. and the glue wasn't very good at holding the pieces together until it dried which didn't happen very fast so i had to pinch and hold multiple pieces together for several minutes while the glue dried so my piece wouldnt fall apart. i liked how easy it was to cut the paper with the xacto knifes. the paper folded really easily because it is so thin
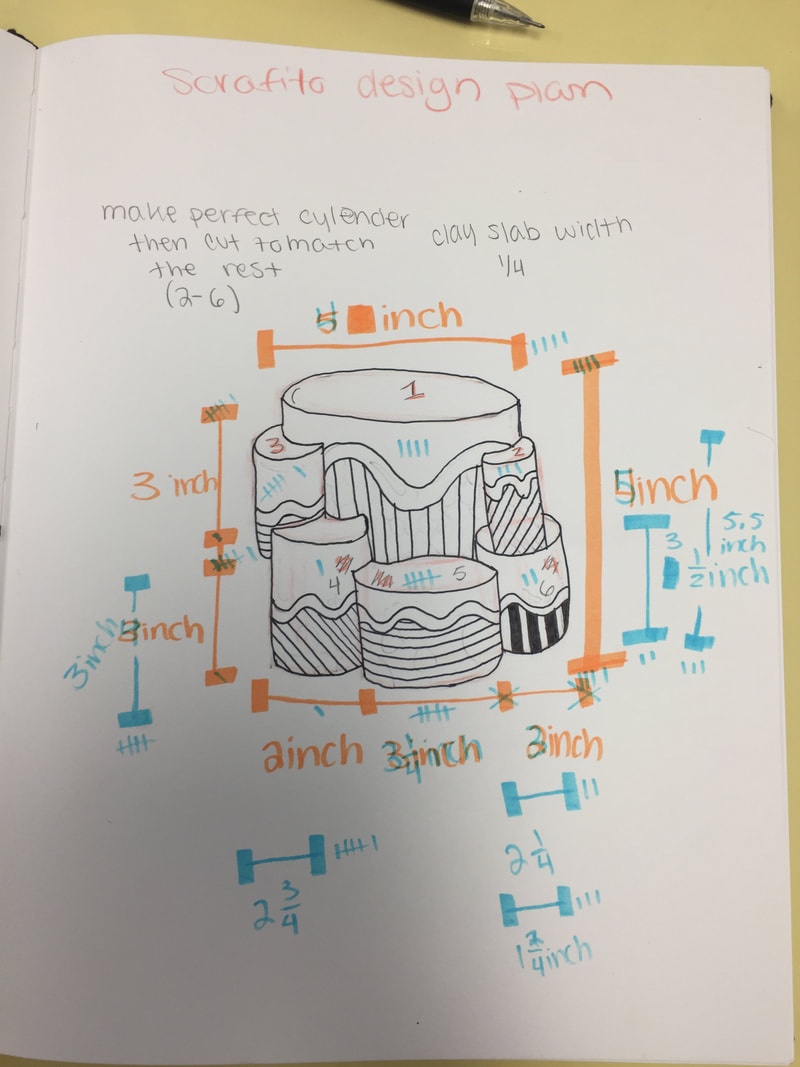
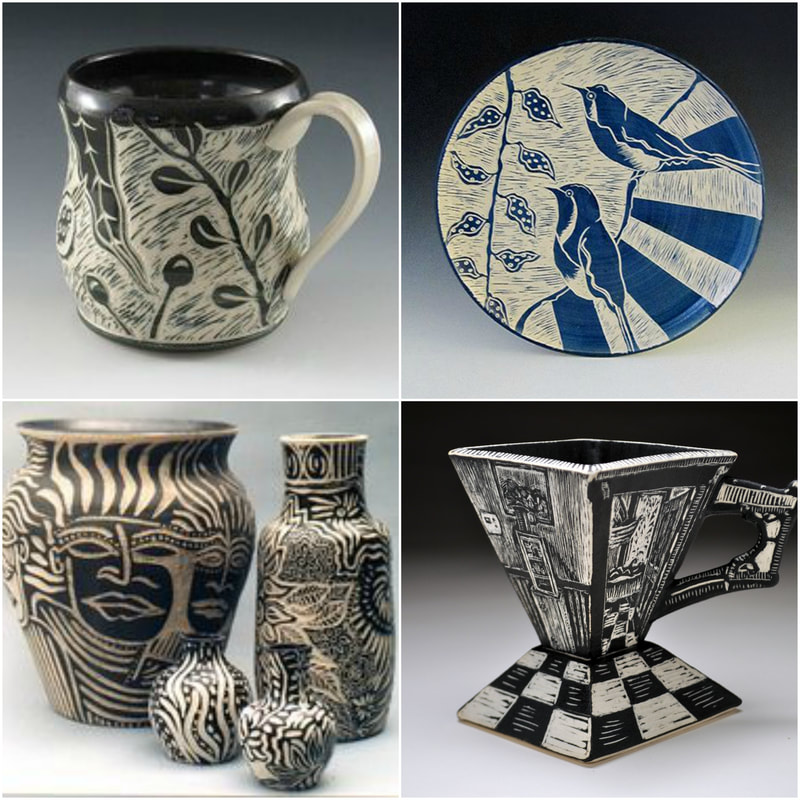
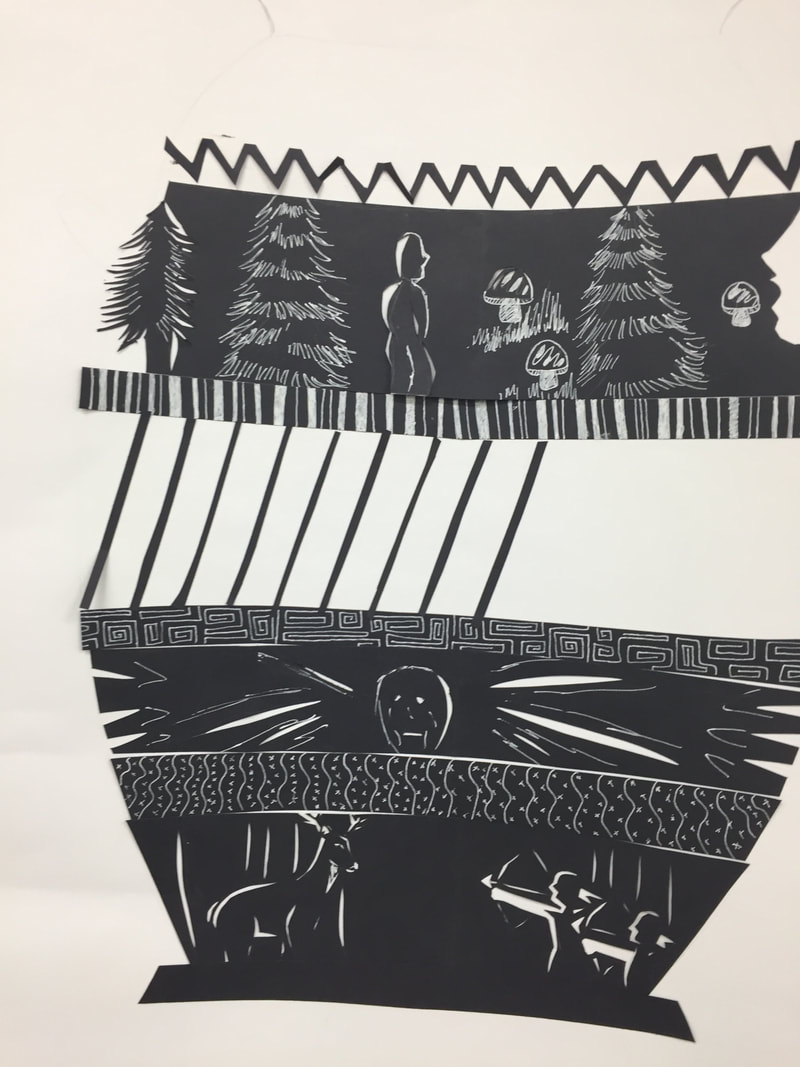 The vase that we used is called "stamnos" and the greeks used to hold liquids like water. i worked on the bottom register with the hunters and the deer with the people aiming their bow and arrows at the deer. scraffito is the italian word for "scratch" and it is a form of art where you add a layer of glaze over top of a element like paper, oil, or clay and you take away from it to create negative and positive to create an image, pattern or design. a register is a horizontal work on a piece that is like a band that has images or words on it usually to tell a story.
 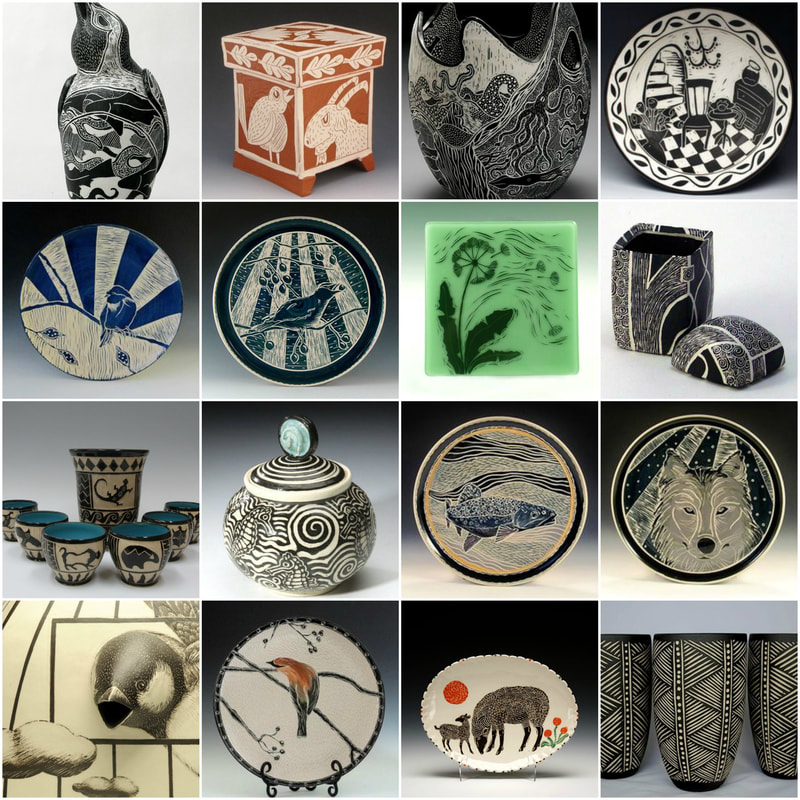   1.) i was inspired by other pieces i found online. i really liked the designs so i put them all into one piece.
Started with a slab of clay and I wrapped it onto a pipe and I did that with the other ones too just different sizes and I scored and slipped all the parts that I wanted to attach to the large one. I cut off some of the pieces to fit to the final piece. Covered it in black finish and put it in the kiln. So far i think that the project is going very well so far and the pieces are looking really nice. one struggle that ive had is that it takes a long time to paint each piece that im making. something successful is that when i do finish the single pieces they look really nice.    |
AuthorWrite something about yourself. No need to be fancy, just an overview. Archives
January 2018
Categories |
 RSS Feed
